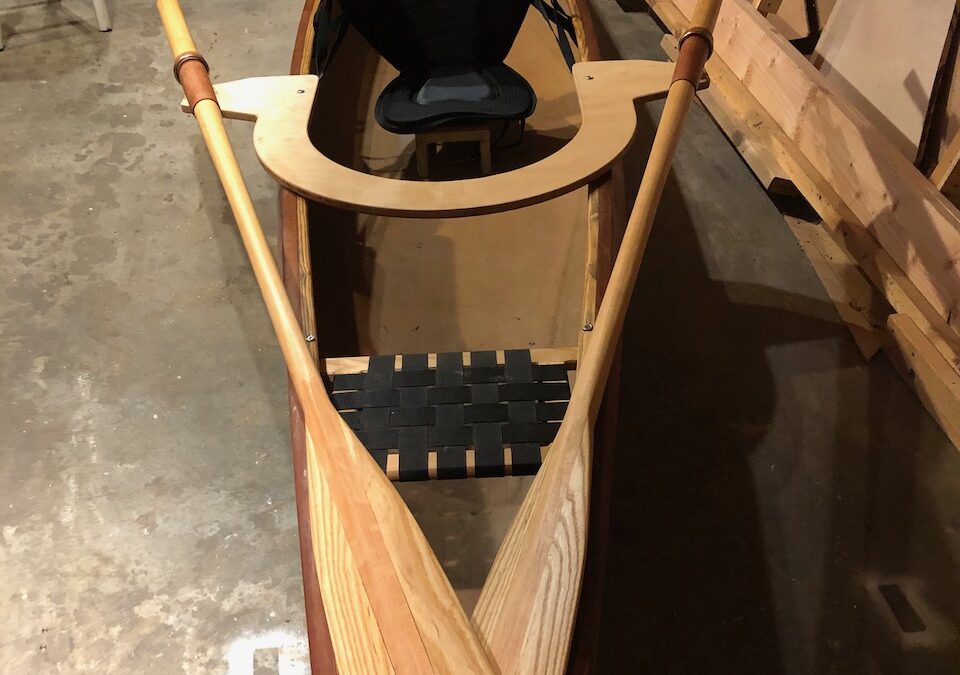
So my friend Rolf grew up in New Hampshire and he knows how to paddle a canoe. I didn’t, and I don’t, so when I’m alone in the canoe I find I’m more comfortable with a double-bladed paddle and paddling like a kayak. This canoe in particular is so narrow that this works quite well. But I also want to get back into rowing. I did have a Chesapeake Light Craft Annapolis Wherry for a while, but it weighed 65 pounds and I found it hard to get on and off the roof of the car by myself. This canoe only weighs 38 pounds… maybe I can get an outrigger for it and take up rowing again!
But a nice Piantedosi Row Wing sliding seat outrigger is 650 bucks, not including oars. Could there be a cheaper way?
I’d always LOVED the oars by famous oar builders Shaw & Tenney, but they aren’t cheap either. A little poking around and I discovered the kits and classes by Cape Falcon Kayaks. Not only did owner Brian Schulz have a VERY inexpensive online class to teach me how to build oars, he goes on to show how to build an outrigger to attach to a canoe! For 25 bucks I got a set of detailed plans, and access to a whole set of online videos that detailed everything from tool sharpening to wood selection as well as guidance through every step of the building process. A total of 17 videos, each about 15 minutes long, with Brian’s well-thought-out advice and clear professional practicality. Even the section on finish coating was useful – not only did Brian teach me about varnish and urethane and even more about linseed oil (which I thought I knew all abut from my days working at Svendsen’s Boatyard back in the 80’s), he introduced me to Rubio Monocoat – a wonderful wax/oil finish that is easy to work with and has found it’s way into many projects since these oars.
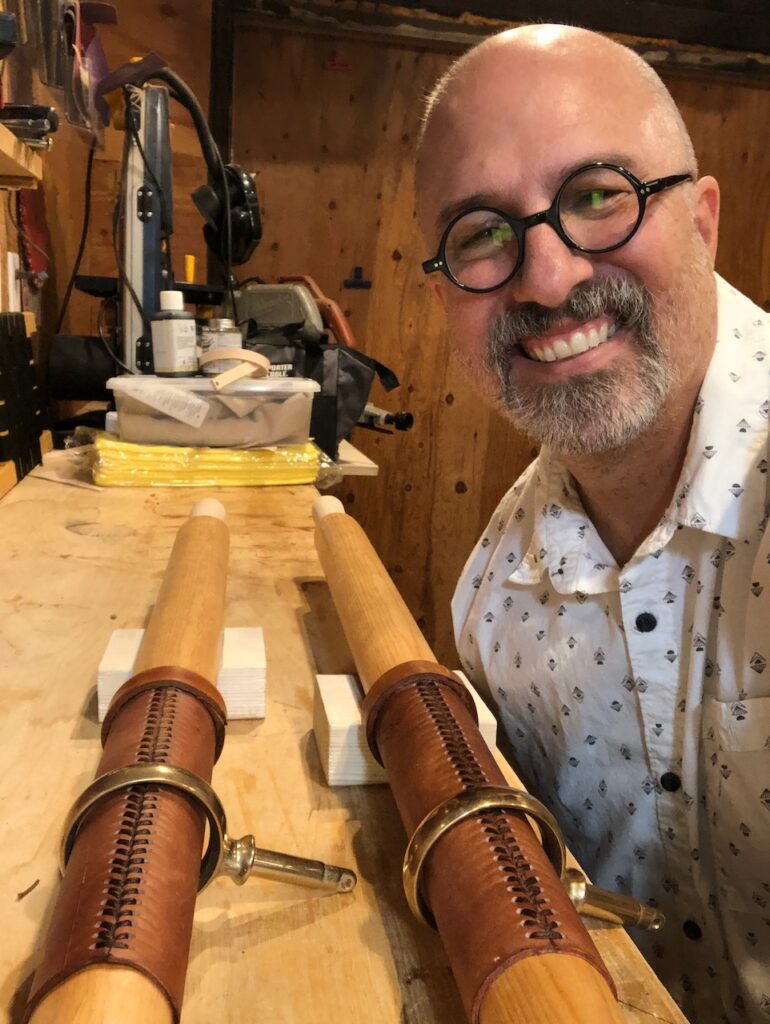
But back to the oars! I don’t want to give away Brian’s wonderful course for free… please, please fess up the 25 bucks: you’ll be glad you did! But here are some photos to outline the process. I did this in the early weeks of the Covid-19 pandemic, and the project kept me sane. Thanks Brian!
One more plug: I got sitka spruce for the looms and ash for the blades from the same place. Crosscut Hardwoods describes themselves as the “Woodworker’s Candystore”. Need I say more?
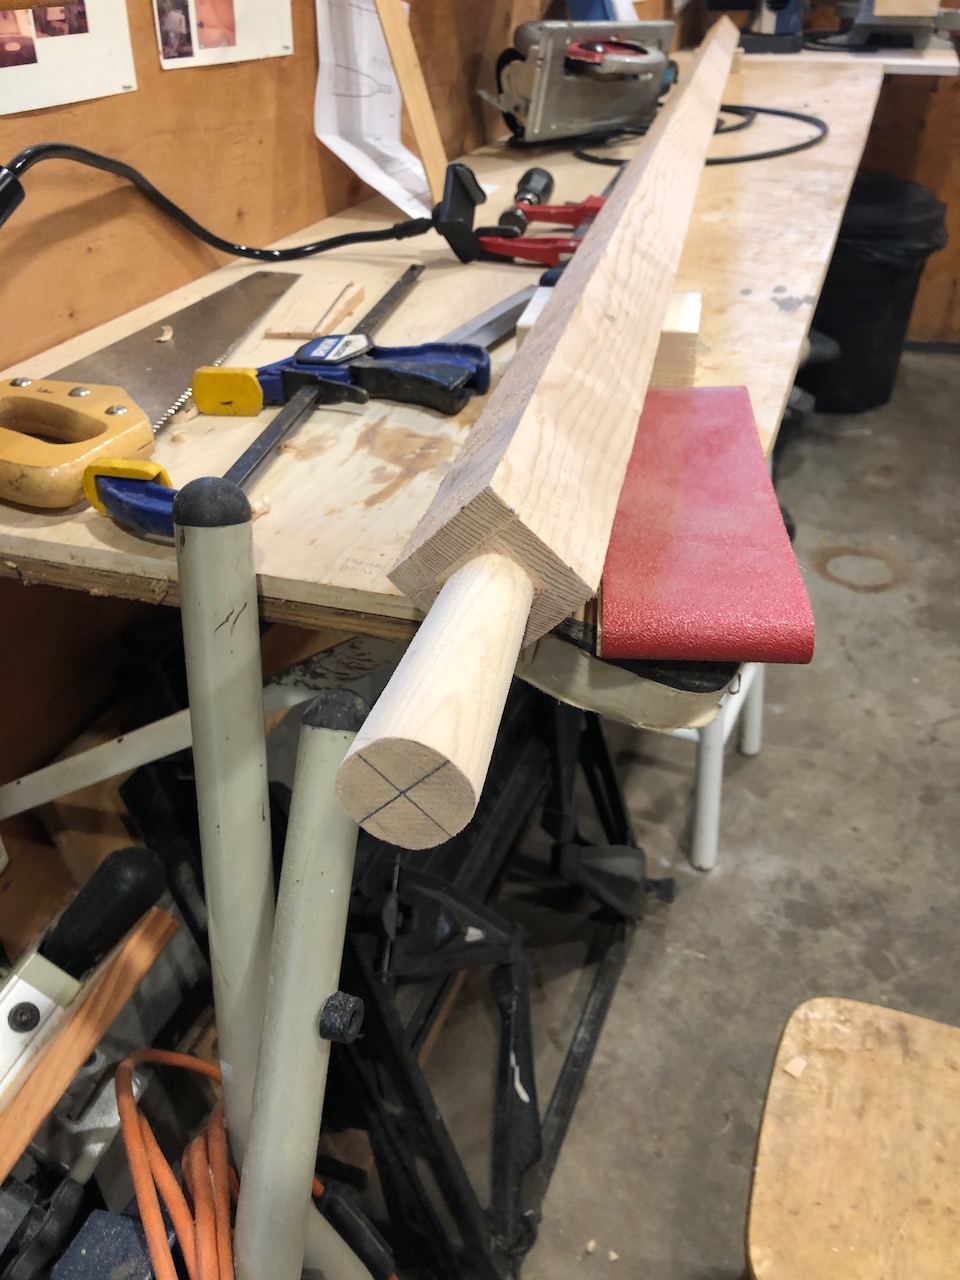
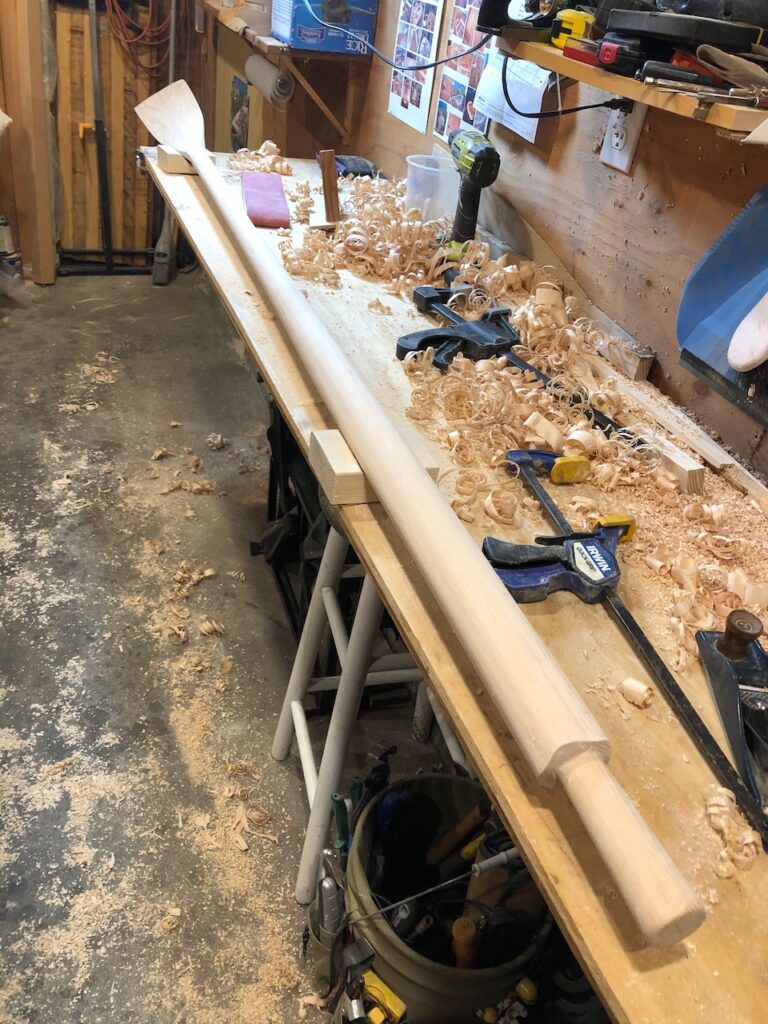
Here I carve the handles in the end of the looms:

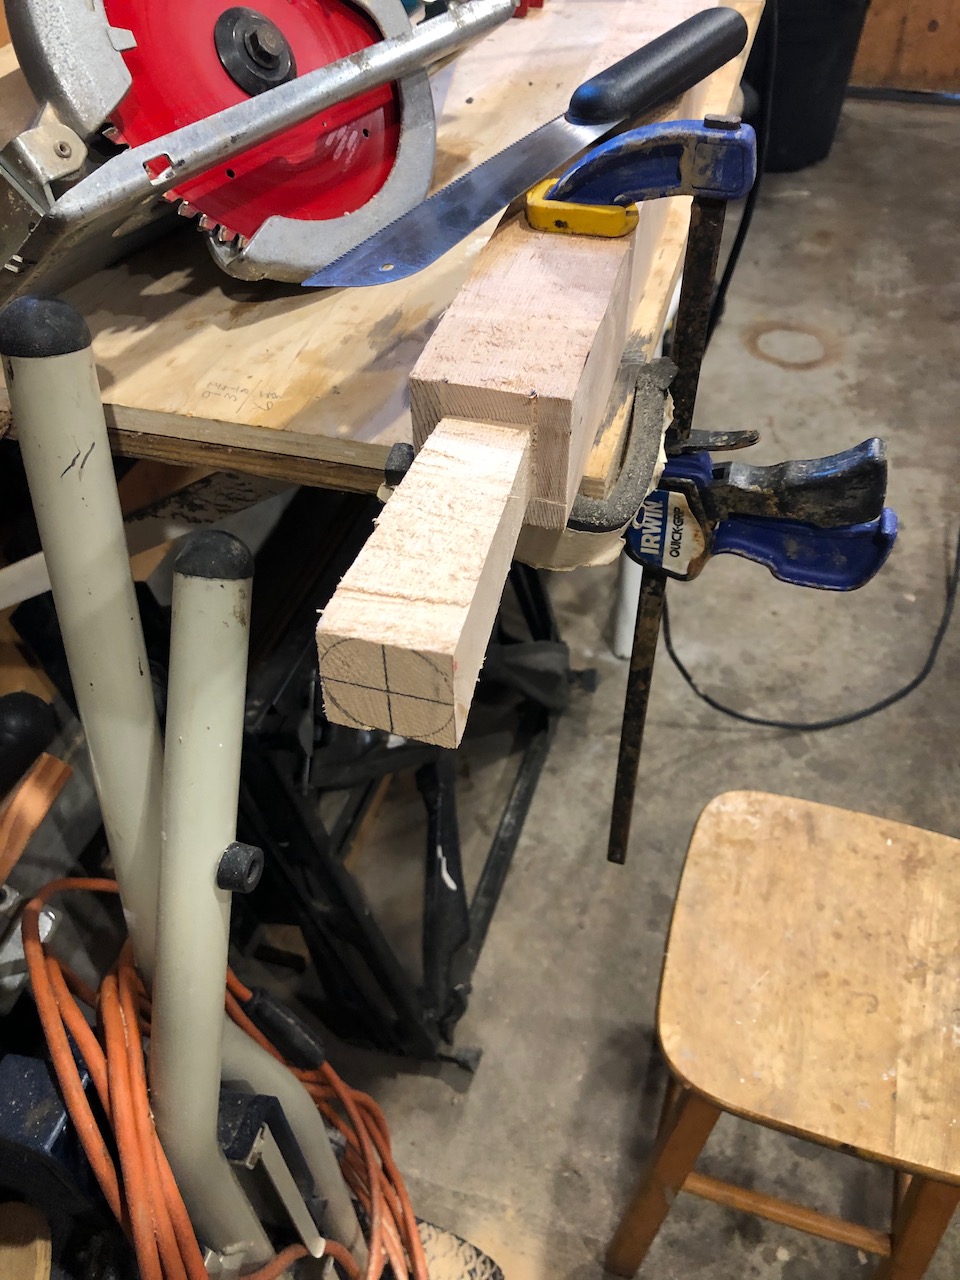
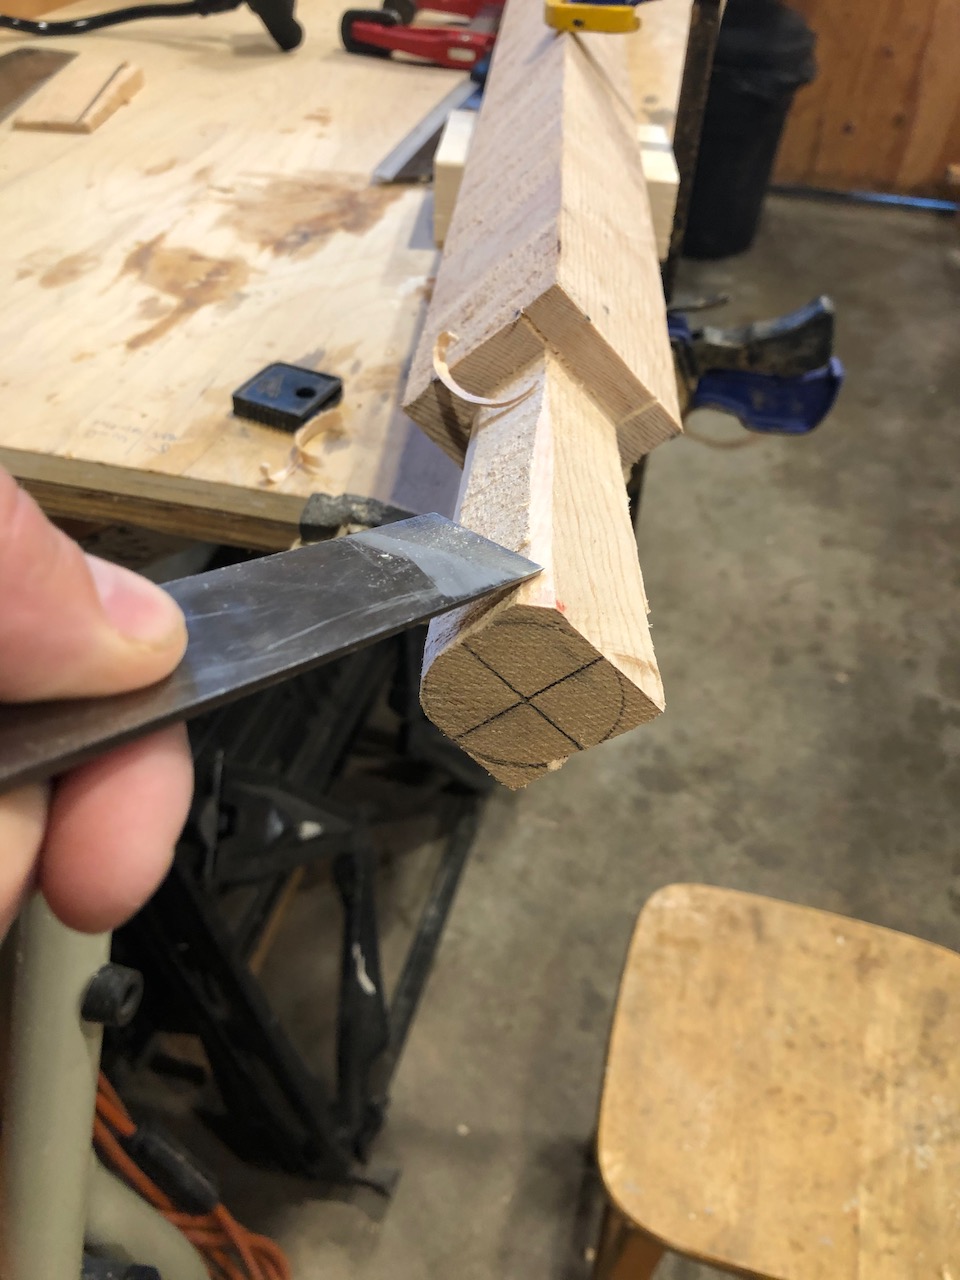
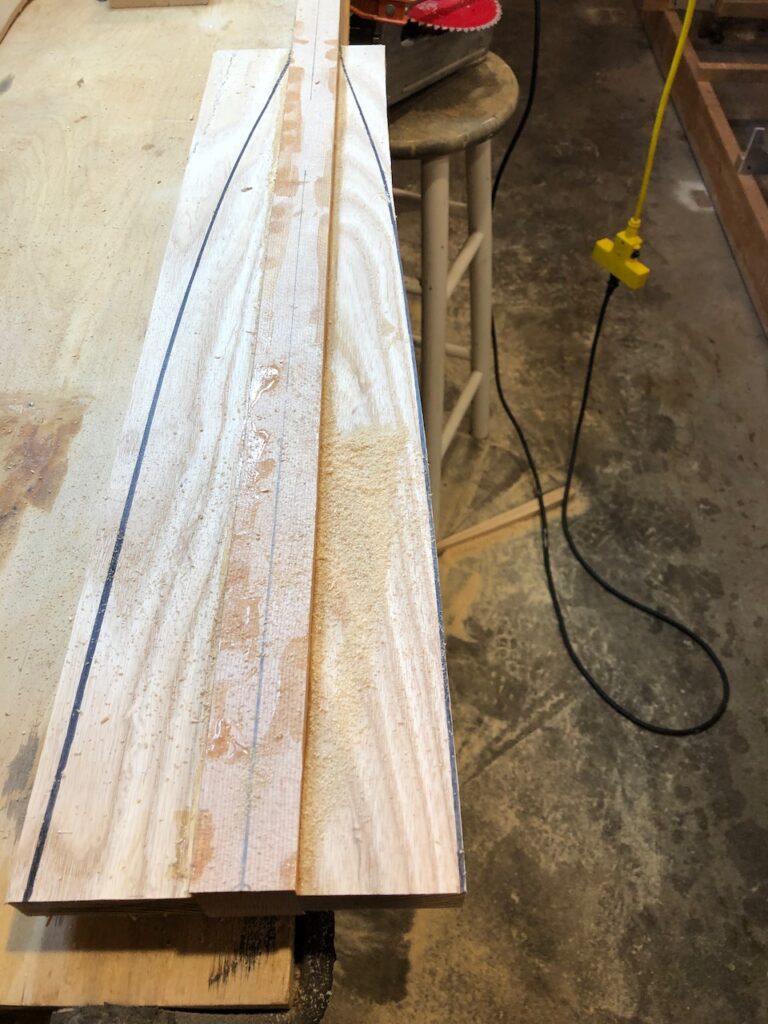
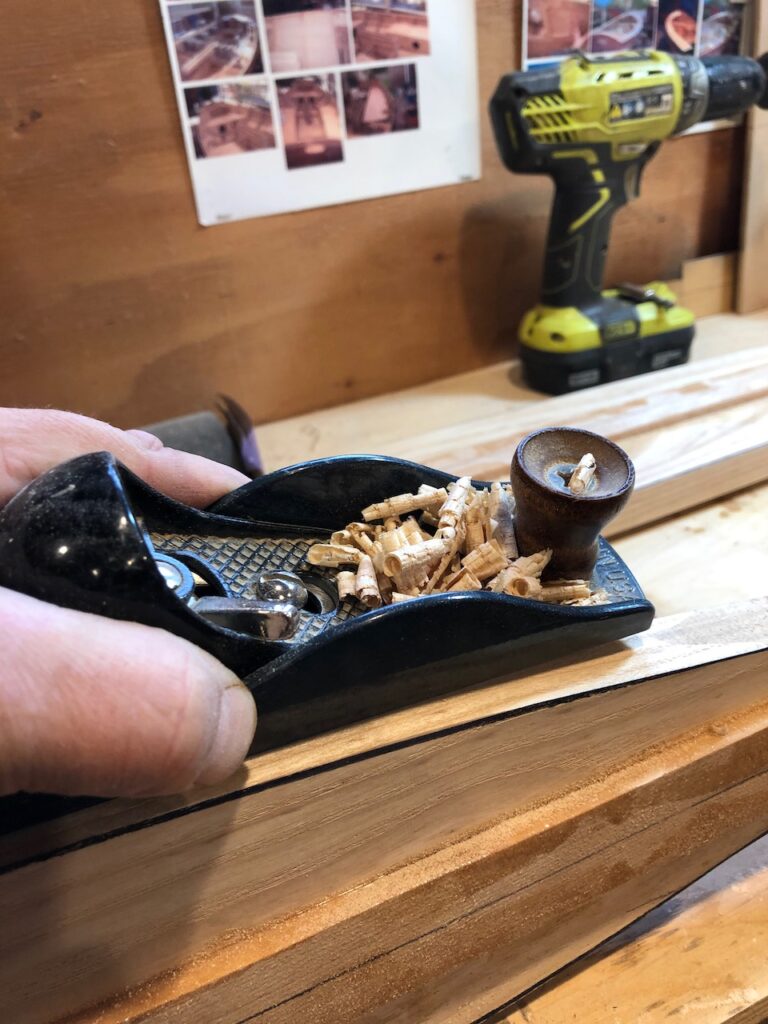
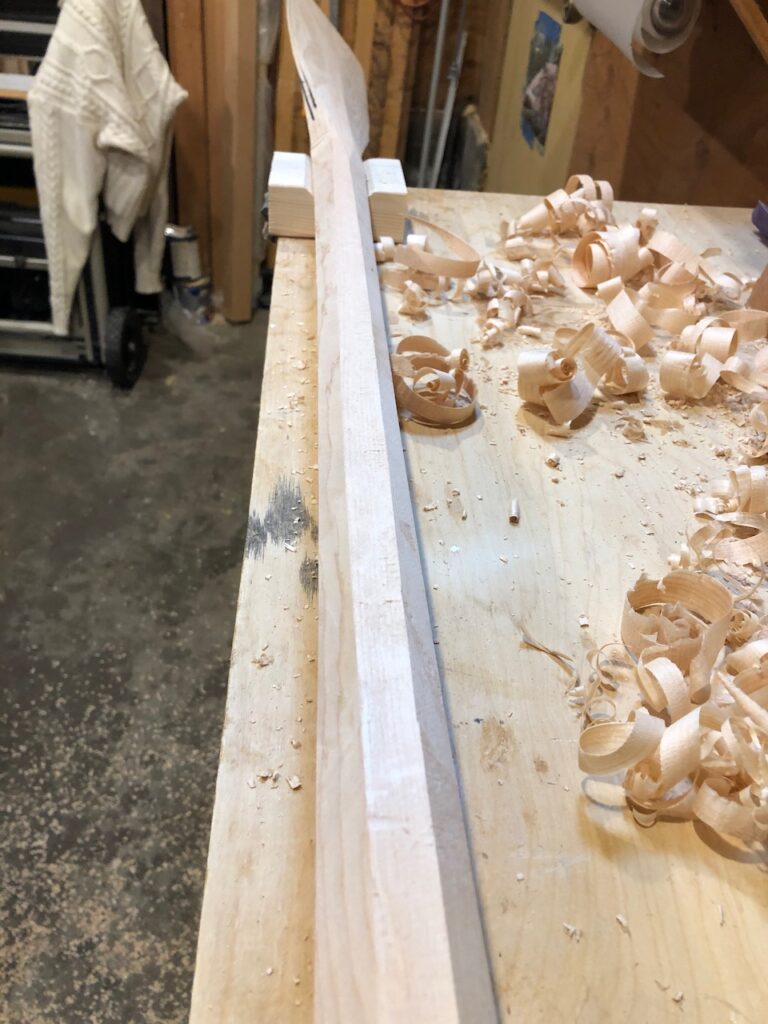
Next I taper the looms and glue on ash blades and shape:
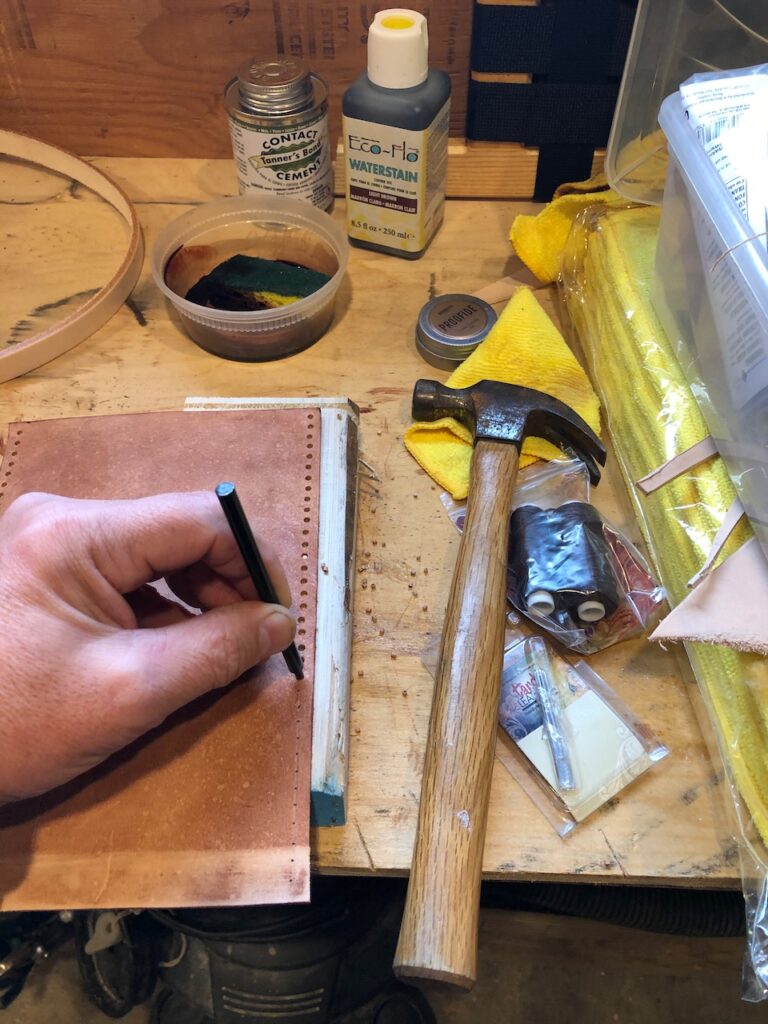
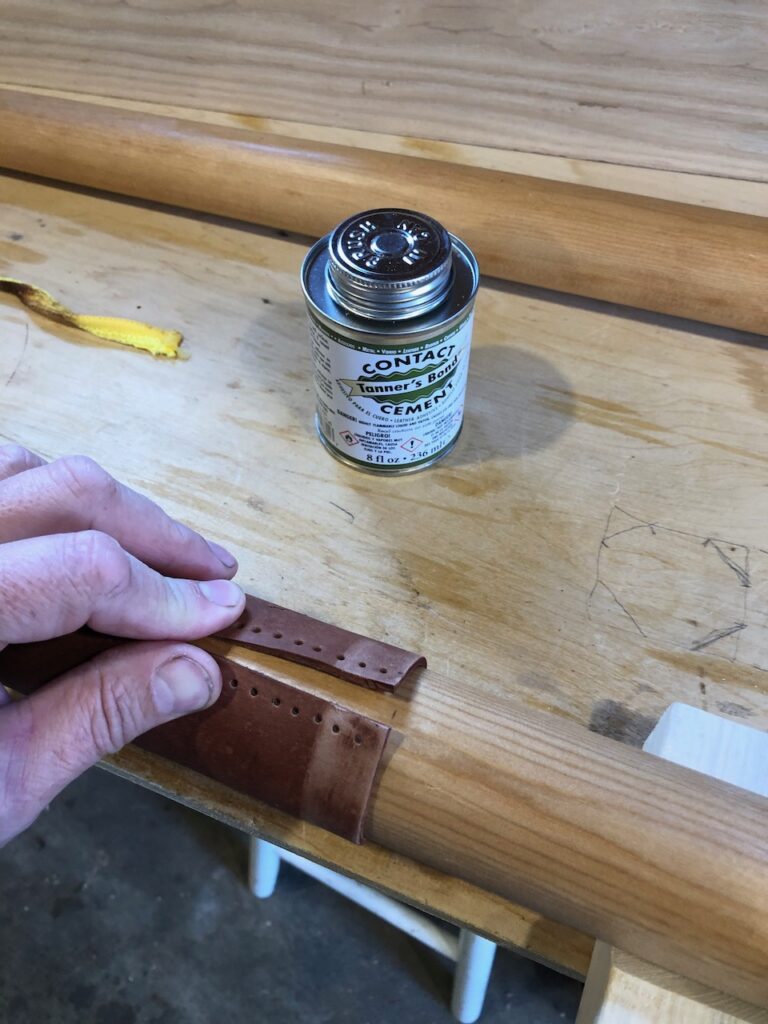
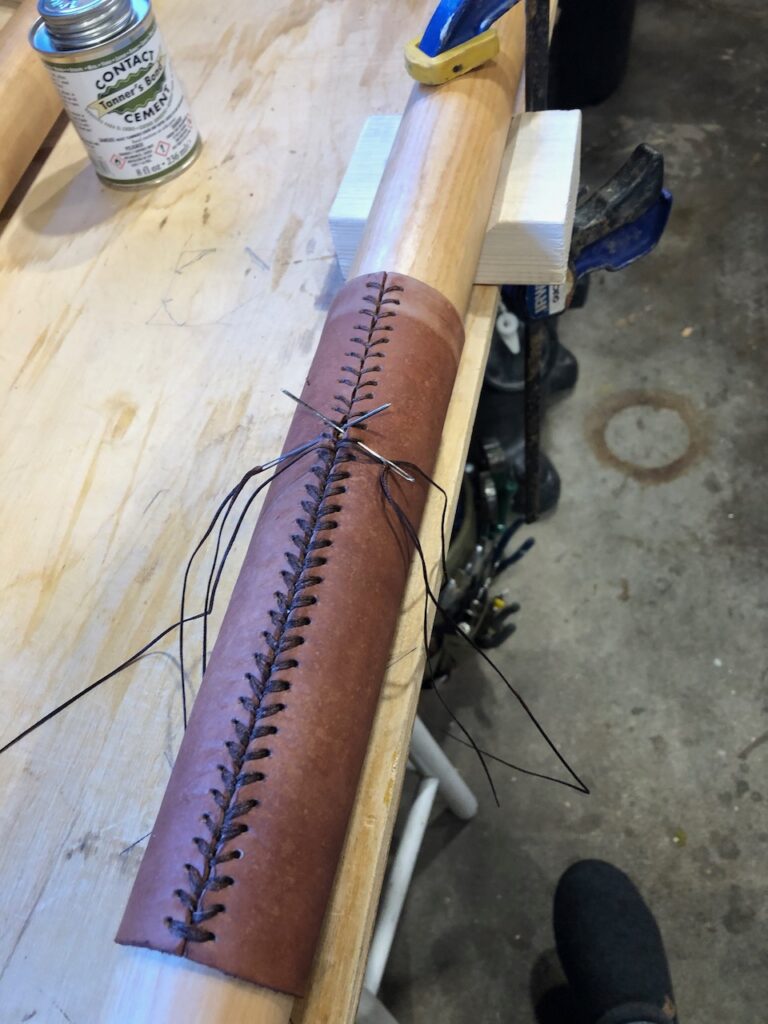
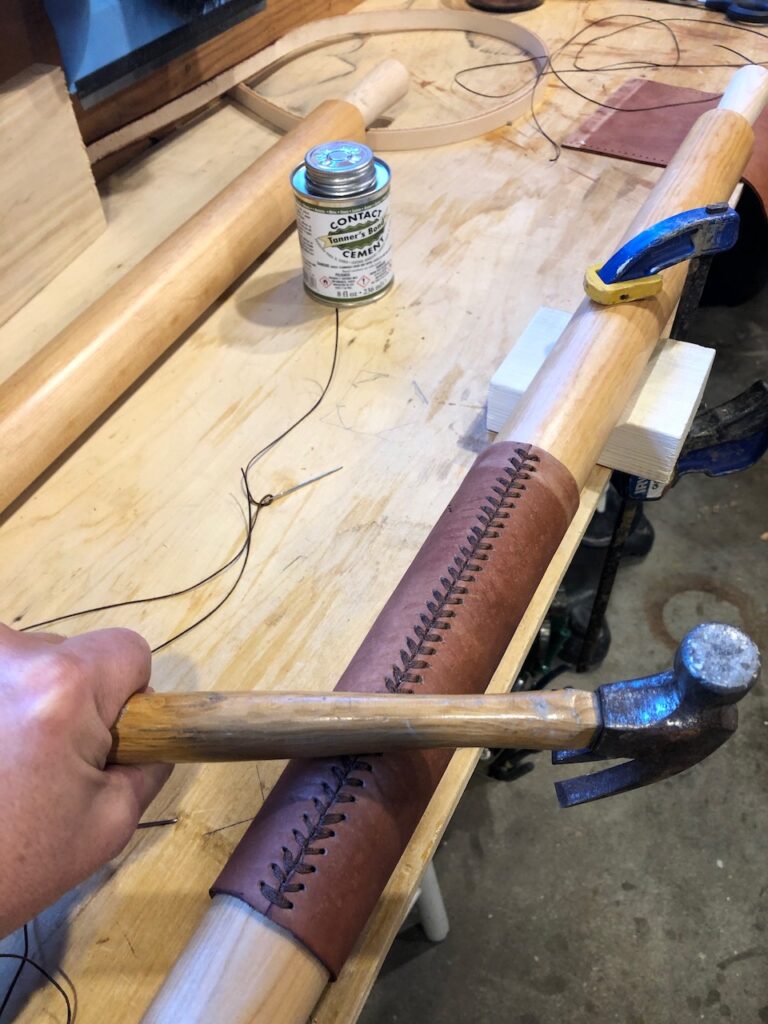
Then I coat with the Rubio Monocoat, let it dry, and lace on leathers and buttons. Thank goodness I learned a bit of leather work with leathering the wheel of the Cal 29!