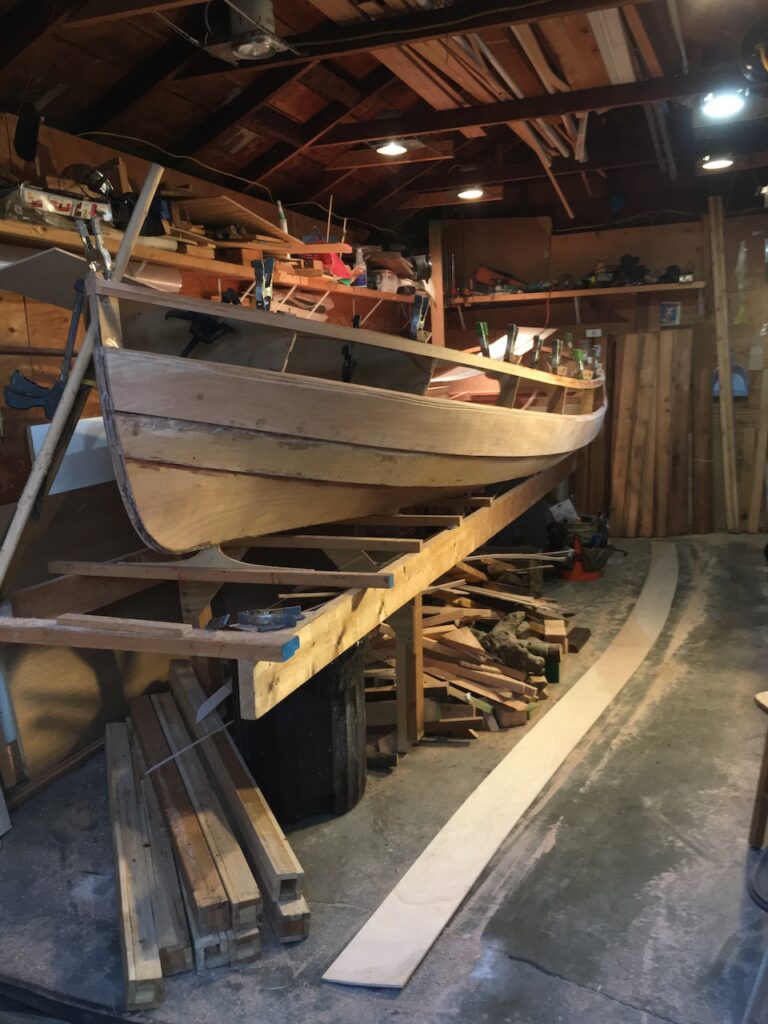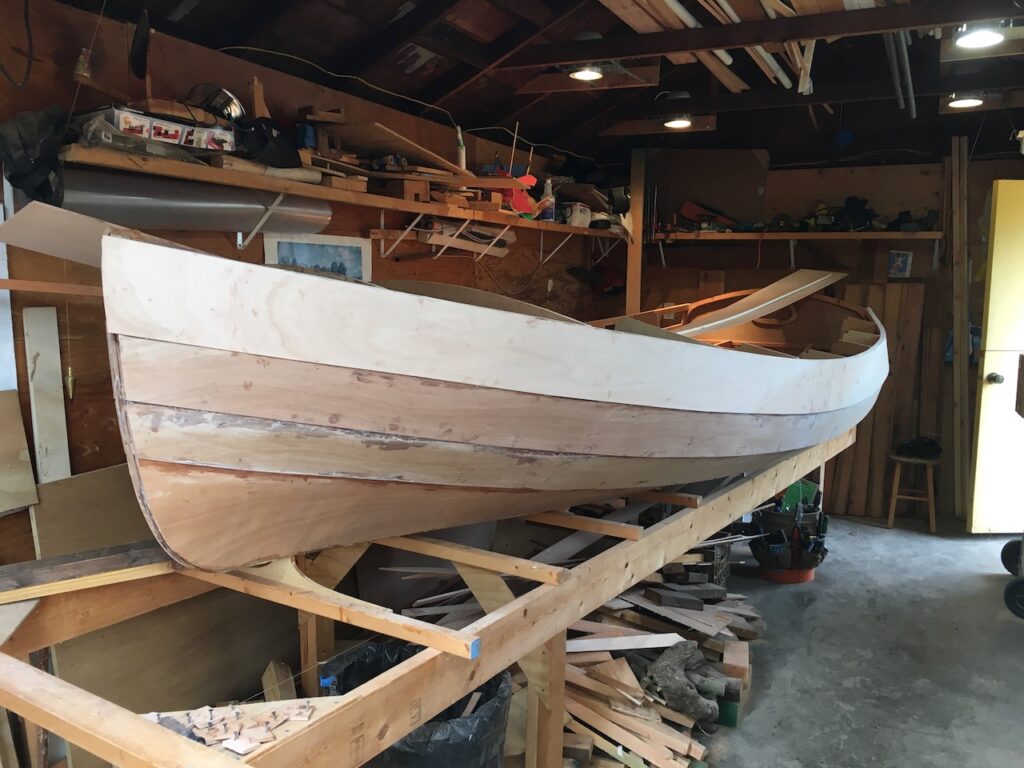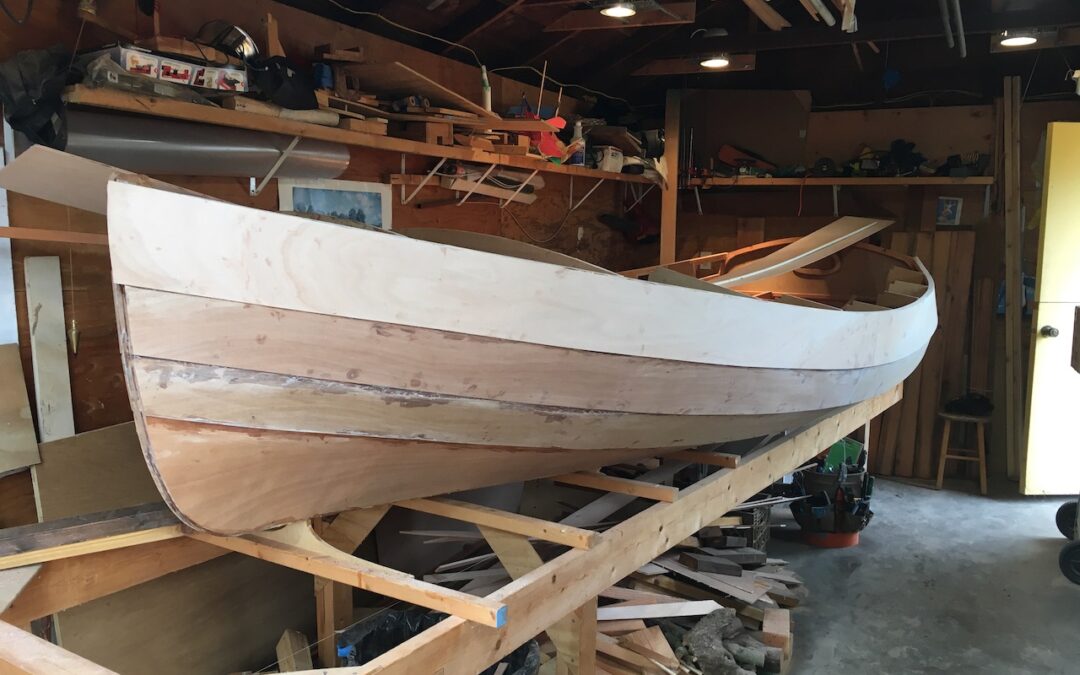
So I find I actually love planking! On this particular design, which isn’t actually traditional, it’s easy. You need a piece of plywood long enough to reach from stem to stern, and wide enough to cover from the plank below (or the boat bottom) to the next stringer up. Then epoxy and screw through the lower plank/stringer and just epoxy to the upper. Then trim to size (a power planer works well for this), and on to the next plank. The laps are left a little long, and can be trimmed so a nice, smooth curve later.
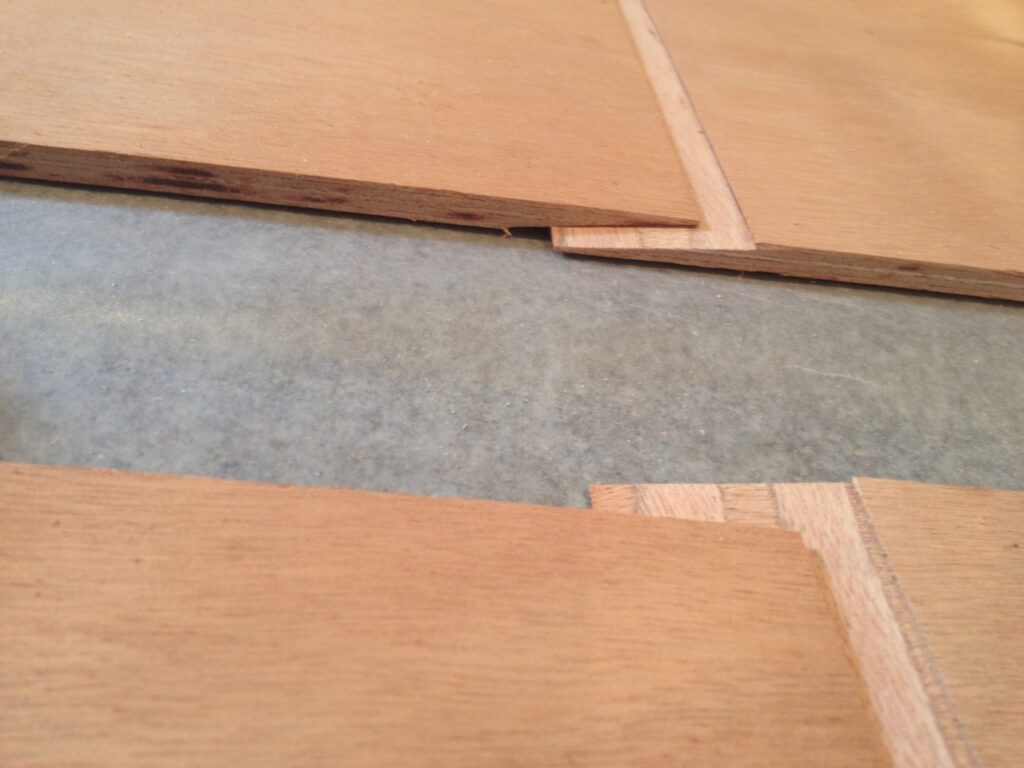
The hard part is just getting a piece that’s long and wide enough. The plywood comes in 4’x8′ sheets (ok, slightly larger cuz it’s metric, innit)? So I slice off about a 10″ wide (two, actually), and join them together with epoxy. This joint is called a “scarf”, and is simply a slanted edge-cut (see photo below). Then glue, screw, and trim!